How to Turn Off Manual Shift in Jeep Grand Cherokee
Disable manual shift mode in your Jeep Grand Cherokee by using the Uconnect Personal Settings menu, disconnecting the battery, or resetting the vehicle’s computer. Ensure proper shifter adjustment for smooth operation. Each method offers a unique approach to deactivating manual mode, allowing you to restore automatic shifting effortlessly. Always refer to your owner’s manual for model-specific instructions. If issues persist, consult a professional mechanic for further assistance. Regular maintenance and familiarity with controls are key to seamless vehicle operation. If issues persist, consult a professional mechanic for further assistance. Regular maintenance and familiarity with controls are key to seamless vehicle operation. If issues persist, consult a professional mechanic for further assistance. Regular maintenance and familiarity with controls are key to seamless vehicle operation.
Understanding how to turn off manual shift mode in your Jeep Grand Cherokee is essential for optimizing your driving experience. While manual shift mode offers precise control, it may not always be desired, especially during casual driving. This guide provides step-by-step methods to disable manual shift mode, including using Uconnect settings, battery disconnection, and computer resets. Whether you’re dealing with unintended activation or simply prefer automatic shifting, these solutions will help you regain smooth, hassle-free driving. Model-specific considerations and troubleshooting tips are also covered to ensure compatibility and effectiveness for your vehicle. Familiarize yourself with these techniques to enhance your Jeep’s performance and convenience.

Understanding Manual Shift Mode in Jeep Grand Cherokee
Manual shift mode in the Jeep Grand Cherokee allows drivers to control gear selection for enhanced performance. It is ideal for precise driving but may not suit all scenarios, prompting the need to disable it for smoother automatic operation.
What is Manual Shift Mode?
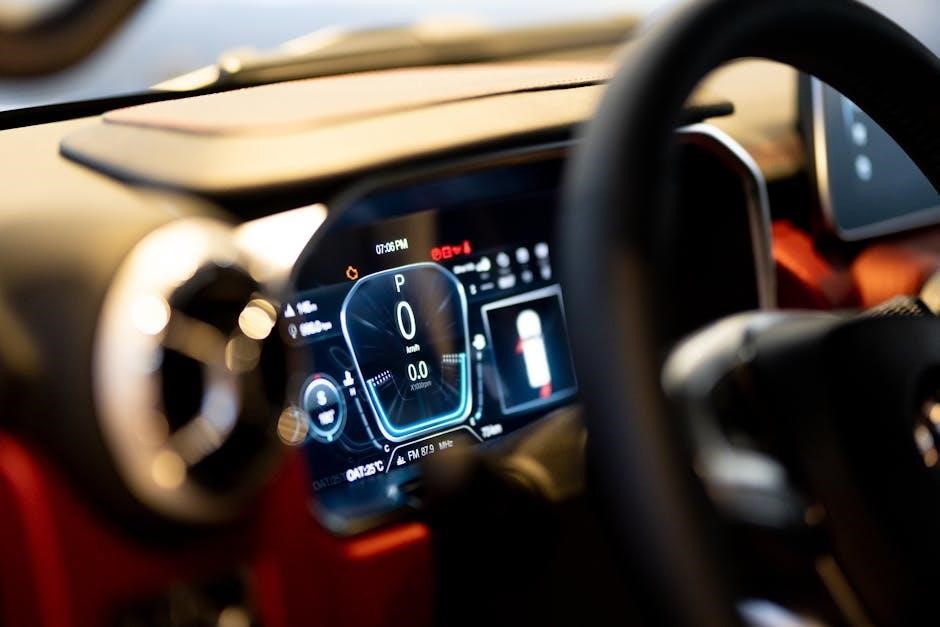
Manual shift mode in the Jeep Grand Cherokee allows drivers to take control of gear selection, offering enhanced performance and precision. Unlike full manual transmissions, this feature operates within an automatic system, enabling drivers to override automatic shifting by using paddle shifters or the console shifter. For 2014-2018 models, this is referred to as Electronic Range Select (ERS), which limits manual control to selecting the highest gear. In newer models, advanced features provide more intuitive manual shifting. The mode is ideal for specific driving conditions but can deactivate automatically under certain circumstances, such as when the vehicle comes to a stop. Understanding this feature is crucial for optimizing both on-road and off-road driving experiences.
Benefits and Drawbacks of Manual Shift Mode
Manual shift mode in the Jeep Grand Cherokee offers precise control over gear selection, enhancing performance in specific driving conditions like steep inclines or sporty driving. It prevents unwanted automatic shifts, improving responsiveness. However, it can be inconvenient in heavy traffic, requiring constant driver input. Some users find the feature intrusive, as it may activate unintentionally during routine driving. Additionally, the learning curve for mastering manual mode can deter some drivers. Overall, it’s a feature that balances performance and practicality, though its suitability depends on individual driving habits and preferences. Proper understanding and adjustment are key to maximizing its benefits.
When You Might Want to Disable Manual Shift Mode
Drivers may want to disable manual shift mode in their Jeep Grand Cherokee during heavy traffic or smooth highway driving, where constant gear changes are unnecessary. Accidental activation of paddle shifters or unintended manual override can be frustrating, especially for drivers unfamiliar with the feature. Additionally, manual mode may engage during routine driving, causing unwanted gear shifts. Disabling it can prevent these issues and restore seamless automatic transmission operation. This is particularly useful for drivers who prefer a hands-off approach or find the manual mode intrusive in everyday driving scenarios. Knowing when to disable can enhance overall driving comfort and control;
Step-by-Step Guide to Disabling Manual Shift Mode
Disable manual shift mode by using Uconnect settings, adjusting the shifter, disconnecting the battery, or resetting the computer. Follow these steps for seamless automatic transmission restoration.
Method 1: Using the Uconnect Personal Settings
Access the Uconnect Personal Settings menu on your Jeep Grand Cherokee’s infotainment system. Navigate to the “Features” or “Transmission” section; Select “Manual Shift Mode” and choose “Disable” or “Off.” Save your settings to apply the changes. For some models, you may need to restart the vehicle for the settings to take effect. This method is straightforward and avoids mechanical adjustments. If you encounter issues, refer to your owner’s manual for detailed guidance. Ensure proper operation by testing the transmission after disabling manual mode.
Method 2: Disconnecting the Battery
Disconnecting the battery is a straightforward method to reset your Jeep Grand Cherokee’s computer, which can disable manual shift mode. Start by locating the negative battery terminal, usually marked with a negative sign (-). Use a wrench to loosen the nut on the terminal clamp. Carefully pull the clamp off the terminal to disconnect the battery. Wait for about 10-15 minutes to allow the system to fully reset. Reconnect the battery by placing the clamp back onto the terminal and tightening the nut. This method can also resolve other electronic issues related to the transmission. After reconnecting, test the vehicle to ensure manual shift mode is disabled; Be cautious, as disconnecting the battery may also reset other settings like clock and radio preferences. Always refer to your owner’s manual for specific instructions and precautions.
Method 3: Checking and Adjusting the Shifter
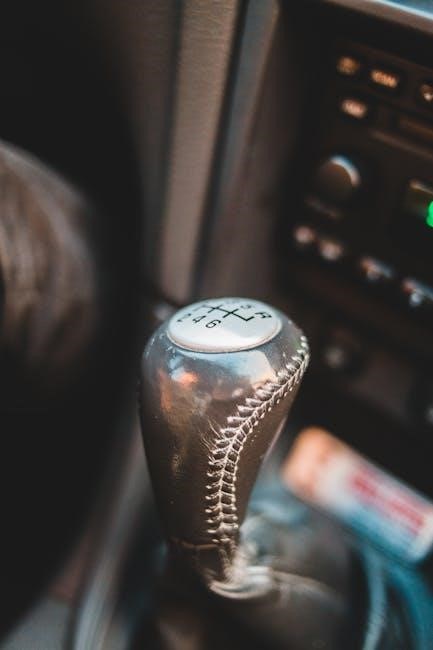
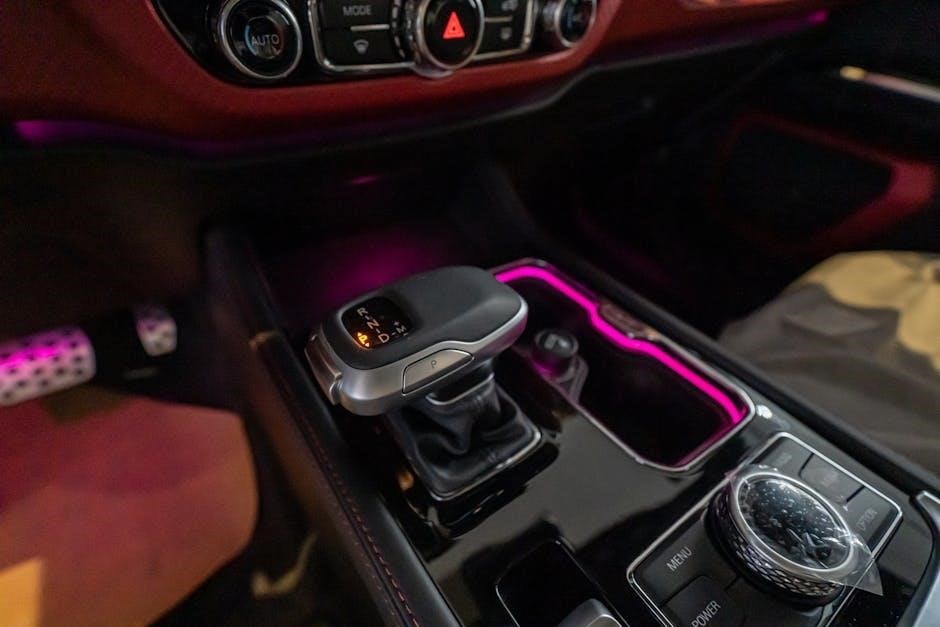
Inspect the shifter to ensure it is properly aligned and functioning correctly. If the shifter is not in the correct position, manual shift mode may inadvertently activate. Gently move the shifter through its gears to confirm smooth operation. If misalignment is detected, adjust the shifter by loosening the mounting bolts and realigning it with the gear selector. Tighten the bolts securely after adjustment. This method is effective for resolving issues where the vehicle remains in manual mode due to mechanical misalignment. Always refer to your Jeep’s owner’s manual for specific shifter adjustment instructions tailored to your model.
Method 4: Resetting the Vehicle’s Computer
Resetting your Jeep’s computer can resolve issues preventing manual shift mode from deactivating. Disconnect the negative battery cable for 10-15 minutes to clear the system. Reconnect the cable and start the engine, allowing the computer to reset. This method often corrects software glitches affecting manual mode. After resetting, test the transmission by shifting gears to ensure manual mode is disabled. If the issue persists, consult a professional mechanic for further assistance. Regular system resets can help maintain optimal vehicle performance and prevent recurring problems with manual shift mode.
Additional Tips for Managing Manual Shift Mode
Keep your Jeep well-maintained, learn about its manual mode, and check shifter cables. Familiarize yourself with controls and reset the computer if issues arise properly.
Familiarizing Yourself with the Vehicle’s Controls
Familiarizing yourself with your Jeep’s controls is essential for managing manual shift mode effectively. Learn how to use the paddle shifters, gear selector, and transfer case controls. Understand the transmission and braking systems to maintain control while driving. Practice shifting gears smoothly and know when to switch between automatic and manual modes. Regular maintenance ensures all components function properly. Review your owner’s manual to understand specific features like Electronic Range Select (ERS) or advanced manual mode options. Take time to get comfortable with your Jeep’s unique handling and maneuvering capabilities, both on-road and off-road.
Learning About Your Jeep’s Manual Mode
Learning about your Jeep’s manual mode enhances control and driving experience. Familiarize yourself with the transmission settings and Electronic Range Select (ERS) for older models. For newer models, explore advanced features that offer precise gear selection. Understand how to use paddle shifters or the gear selector to switch between automatic and manual modes. Consult the owner’s manual for specific instructions tailored to your model year. Practice using manual mode to improve driving skills and confidence. Stay informed about software updates or special tools that may be required for optimal performance. By mastering manual mode, you can enjoy a more personalized and efficient driving experience.
Keeping Your Jeep Well-Maintained
Regular maintenance is crucial for optimal performance of your Jeep’s manual shift mode. Check transmission fluid levels and ensure the system is lubricated properly. Inspect shifter cables and connectors for wear or damage. Schedule routine servicing to maintain gear alignment and smooth shifting. Address any issues promptly to prevent mechanical failures. Update your vehicle’s software regularly to ensure all systems function as intended. By staying on top of maintenance, you can avoid unexpected issues and keep manual shift mode functioning seamlessly. A well-maintained Jeep ensures reliability and enhances your driving experience.
Model-Specific Considerations
For 2014-2018 models, manual mode is Electronic Range Select (ERS). Newer models offer advanced features. Gladiator and Grand Cherokee L have similar manual shift systems.
2014-2018 Models: Electronic Range Select (ERS)
In 2014-2018 Jeep Grand Cherokee models, manual shift mode is referred to as Electronic Range Select (ERS). This system allows drivers to manually select the highest gear for specific driving conditions, such as towing or descending hills. Unlike full manual control, ERS limits gear selection to prevent over-revving the engine. To disable ERS, use the Uconnect Personal Settings menu or disconnect the battery to reset the system. Ensure proper shifter alignment and consult the owner’s manual for detailed instructions. Regular maintenance, such as checking shifter cables, can prevent unintended manual mode activation. If issues persist, professional assistance may be required to ensure proper functionality.
2019 and Newer Models: Advanced Manual Mode Features
In 2019 and newer Jeep Grand Cherokee models, manual shift mode offers advanced features like paddle shifters and customizable settings. These models allow drivers to switch between automatic and manual modes seamlessly. To disable manual mode, use the Uconnect Personal Settings menu or hold the right paddle shifter for 2 seconds to revert to automatic shifting. Additionally, disconnecting the battery or resetting the vehicle’s computer can deactivate manual mode. These advanced systems provide enhanced control and flexibility, making it easier to manage transmission behavior. Regular software updates ensure optimal performance, and consulting the owner’s manual provides detailed guidance for specific operations.
Jeep Grand Cherokee L and Gladiator Models
For Jeep Grand Cherokee L and Gladiator models, disabling manual shift mode involves using the Uconnect Personal Settings menu. You can also hold the right paddle shifter for 2 seconds to revert to automatic shifting. Additionally, disconnecting the battery or resetting the vehicle’s computer may deactivate manual mode. These advanced systems provide enhanced control and flexibility, making it easier to manage transmission behavior. Regular software updates ensure optimal performance, and consulting the owner’s manual provides detailed guidance for specific operations.
Troubleshooting Common Issues
If manual shift mode won’t deactivate, check the shifter for proper alignment and ensure no obstructions. Resetting the vehicle’s computer or disconnecting the battery may resolve the issue. If problems persist, consult a professional mechanic to diagnose and repair any underlying faults. Regular maintenance and software updates can prevent such issues, ensuring smooth transmission operation. Always refer to the owner’s manual for model-specific troubleshooting guidance. If issues persist, consult a professional mechanic for further assistance. Regular maintenance and familiarity with controls are key to seamless vehicle operation. If issues persist, consult a professional mechanic for further assistance. Regular maintenance and familiarity with controls are key to seamless vehicle operation. If issues persist, consult a professional mechanic for further assistance. Regular maintenance and familiarity with controls are key to seamless vehicle operation.
Why Manual Mode Might Not Turn Off
Manual mode may not turn off due to the gear selector not being fully in the “D” position or issues with the shifter’s mechanical linkage. Software glitches can also prevent deactivation, requiring a reset of the vehicle’s computer. For some models, manual mode might remain active if the clutch isn’t fully released in neutral. Additionally, if the battery disconnect method wasn’t performed correctly, it could leave the system in manual mode. Ensure all steps are followed precisely and consult the owner’s manual for model-specific instructions. If the problem persists, a professional mechanic should be contacted to diagnose and repair any underlying faults.

Fixing Unwanted Manual Override
Unwanted manual override in your Jeep Grand Cherokee can occur due to software glitches or faulty components like the shifter or paddle switches. Start by recalibrating the shifter: shift through all gears, then return to “D” and restart the engine. If this doesn’t work, try disconnecting the negative battery cable for 10-15 minutes to reset the computer. For persistent issues, use tools like Tazer or JScan to disable manual mode programmatically. Always refer to the owner’s manual for guidance or consult a certified mechanic if problems persist. Regular maintenance and software updates can prevent such issues from arising.
Final Thoughts on Managing Manual Shift Mode
Mastering manual shift mode in your Jeep Grand Cherokee enhances driving control, especially off-road. For smooth operation, ensure proper shifter adjustment and maintain your vehicle. If issues arise, resetting the computer or consulting the owner’s manual can resolve them. Regular maintenance and understanding your Jeep’s features ensure optimal performance. Always prioritize safety and familiarity with controls for a seamless driving experience. By following these tips, you’ll enjoy a trouble-free journey with your Jeep.
Consulting the Owner’s Manual for Further Guidance
Your Jeep Grand Cherokee’s owner’s manual is an invaluable resource for understanding manual shift mode. It provides detailed instructions on how to operate and troubleshoot the feature. Refer to sections on transmission and shifter controls for clarity. The manual also outlines model-specific functions, such as Electronic Range Select (ERS) for 2014-2018 models. If you encounter issues, the manual offers diagnostic tips and solutions. Always keep it handy for quick guidance, ensuring you maximize your vehicle’s performance and safety. Familiarize yourself with the manual to make informed decisions about your Jeep’s manual shift mode.