Welcome to the Saeco Espresso Machine user manual! This guide provides essential information to help you understand and operate your machine effectively. Reading this manual ensures you unlock all features and maintain optimal performance.
1.1 Overview of the Machine and Its Features
The Saeco Espresso Machine is a high-quality, super-automatic espresso maker designed for home use. It features an integrated grinder, customizable settings for espresso strength, and a user-friendly interface. The machine also includes a steam function for milk frothing and hot water dispensing. Regular maintenance, such as descaling and cleaning, ensures optimal performance and longevity.
1.2 Importance of Reading the User Manual
Reading the user manual is crucial for understanding your Saeco Espresso Machine’s operation, features, and maintenance. It provides step-by-step instructions for setup, brewing, and troubleshooting. Proper usage ensures safety, optimal performance, and extends the machine’s lifespan. Failure to follow guidelines may lead to damage or inefficient operation, voiding the warranty. Always refer to the manual for detailed guidance and best practices.

Safety Precautions
Ensure safe operation by following guidelines to prevent accidents and machine damage. Always read instructions carefully and follow recommended usage and maintenance procedures.
2.1 Before First Use
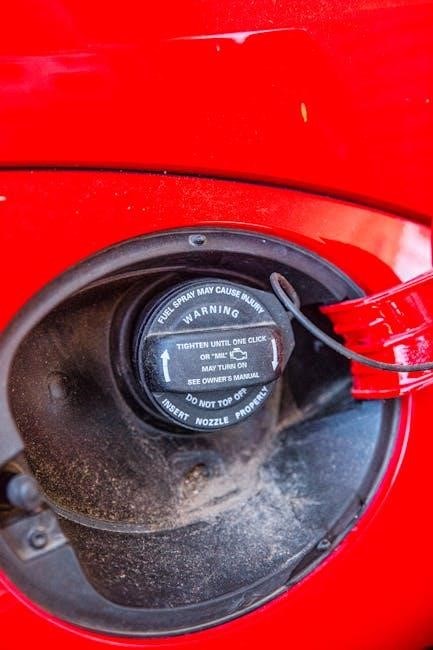
Before first use, ensure all packaging materials are removed and the machine is placed on a stable, heat-resistant surface. Carefully unpack and inspect for damage. Plug into a grounded outlet and avoid overloading circuits. Allow the machine to reach operating temperature before brewing. Always refer to the user manual for specific setup instructions.
2.2 General Safety Guidelines
Always handle the machine with care, as parts may be hot during operation. Keep children away and avoid touching hot surfaces. Ensure the machine is on a stable, flat surface to prevent tipping. Never submerge electrical components in water or use abrasive cleaners. Descale regularly to prevent mineral buildup and maintain performance. Follow all safety instructions provided in the user manual.
Installation and Setup
Proper installation ensures optimal performance. Place the machine on a stable surface, connect to a power source, and allow it to preheat before first use.
3.1 Unpacking and Initial Inspection
Carefully unpack your Saeco Espresso Machine, ensuring all components are included. Inspect for damage or missing parts. Familiarize yourself with the machine’s features and accessories. Always refer to the user manual for detailed instructions and safety guidelines to ensure proper setup and operation. This step is crucial for a smooth and safe experience.
3.2 Positioning and Connecting the Machine
Position the Saeco Espresso Machine on a stable, flat surface, ensuring proper ventilation. Connect the power cord to a suitable electrical outlet, matching the machine’s voltage requirements. Ensure the water tank is filled with filtered water to prevent scaling. Avoid placing the machine near heat sources or flammable materials. Securely connect all accessories according to the user manual instructions for safe and optimal performance.
3.3 Initial Setup and Calibration
After unpacking, turn on the machine and allow it to run a preliminary rinse cycle. Follow the on-screen instructions to select your preferred language and unit of measurement. The machine will automatically grind and calibrate the beans for optimal extraction. Adjust the water hardness setting according to your local water conditions to prevent scaling. This ensures proper functioning and longevity of the machine.
Operating the Machine
Operating the Saeco Espresso Machine involves turning it on, selecting your desired settings, and brewing a perfect shot. Use the steam function for milk-based drinks.
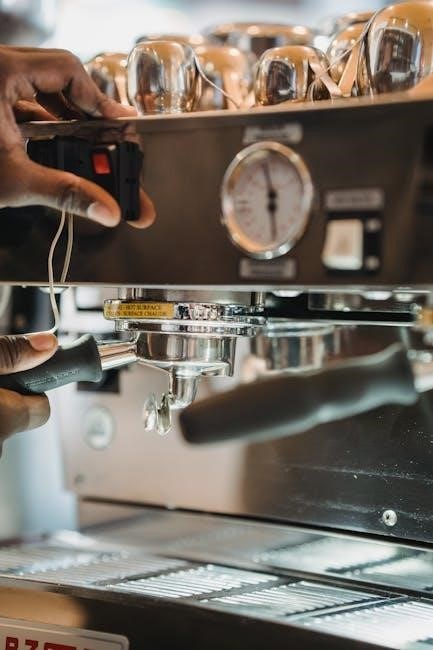
4.1 Preparing Espresso
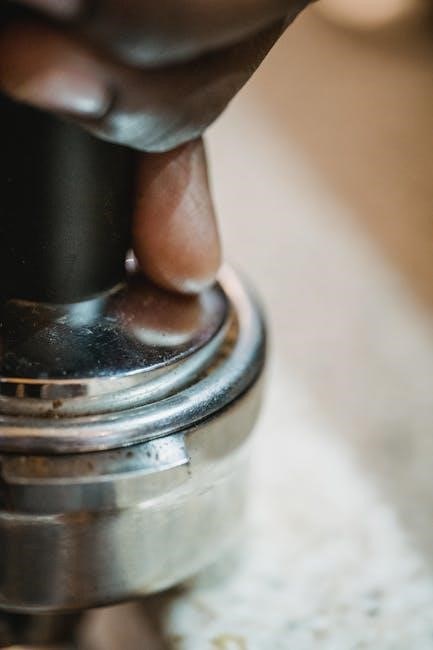
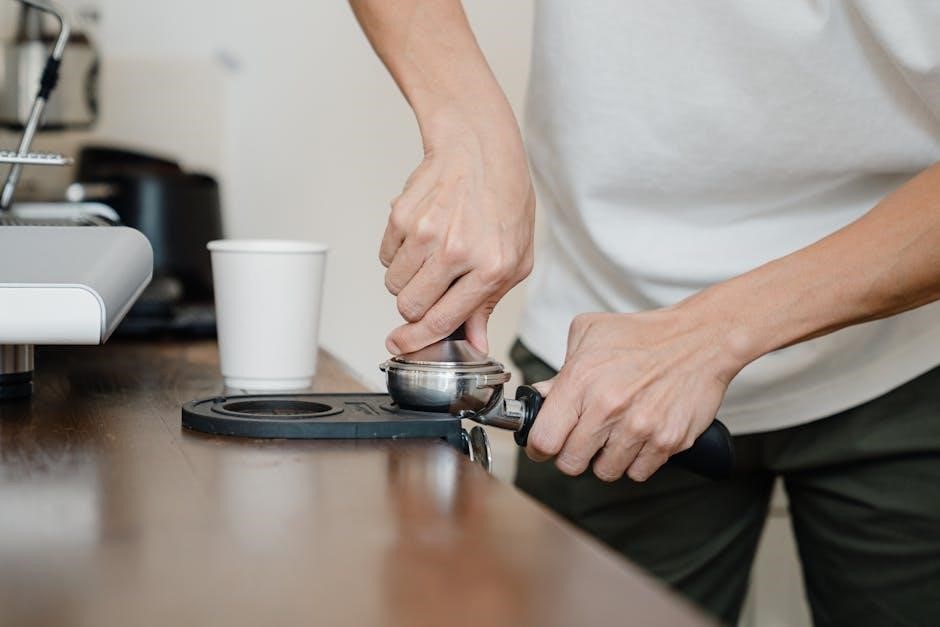
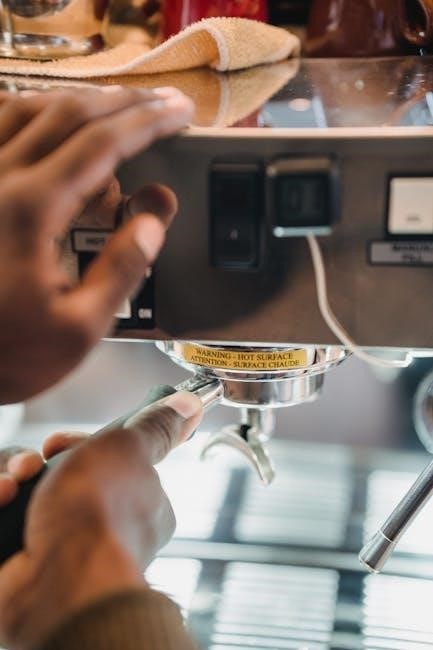
To prepare espresso, grind your coffee beans to the optimal coarseness and tamp them firmly into the portafilter. Attach the portafilter to the machine, select your desired brew settings, and start the brewing process. Use the steam function for milk-based drinks. Regularly monitor the process to ensure perfect extraction. Pour the espresso into a cup and enjoy your perfectly crafted shot.
4.2 Using the Steam Function
To use the steam function, activate it via the control panel and wait for the machine to reach the optimal temperature. Place the steam wand into a milk pitcher and froth until the desired consistency is achieved. After use, clean the wand with a damp cloth and purge steam to remove any milk residue, ensuring proper maintenance.

Maintenance and Cleaning
Regular maintenance ensures your machine performs optimally. Clean the brew group, empty the coffee grounds drawer, and wipe surfaces daily. Descaling is also crucial.
5.1 Daily Cleaning Routine
Daily cleaning is essential for maintaining your Saeco Espresso Machine’s performance. After each use, empty the coffee grounds drawer and wipe the brew group with a damp cloth. Clean the drip tray and steam wand regularly. Use a soft cloth to wipe down the machine’s exterior. Ensure all parts are dry to prevent mineral buildup and bacterial growth. Regular descaling is also recommended.
5.2 Descaling and Regular Maintenance
Descaling your Saeco Espresso Machine is crucial to remove mineral buildup and ensure optimal performance. Use a descaling solution recommended by the manufacturer. Run the solution through the machine’s water and steam circuits as per the manual. Regularly check and replace worn-out parts like seals and gaskets. Lubricate moving components to maintain smooth operation. Schedule professional maintenance annually for a thorough checkup.
This section helps diagnose and resolve common issues with your Saeco Espresso Machine. From error codes to operational problems, find solutions to keep your machine running smoothly. Error codes on your Saeco Espresso Machine indicate specific issues, helping you identify and resolve problems quickly. Codes like “E1” or “E2” signal issues such as low water levels or scaling. Always refer to your user manual for detailed explanations of each code. Addressing these codes promptly ensures optimal performance and prevents further damage. Regular maintenance, like descaling, can often resolve common errors. Common issues like low water levels or clogged brew heads can disrupt your espresso experience. Check the water tank and clean the brew head regularly. If the steam function malfunctions, ensure proper descaling. For persistent problems, consult the user manual or contact customer support for assistance. Regular maintenance can prevent many operational issues, ensuring your machine runs smoothly. Explore a range of accessories designed for your Saeco machine, including grinders, water filters, and cleaning kits. These enhance performance and longevity of your espresso maker. Saeco offers a variety of accessories to enhance your espresso experience. These include high-quality grinders, water filters, cleaning solutions, and milk containers. Accessories like thermal carafes and descaling kits ensure optimal performance and longevity. Compatible products are designed to work seamlessly with your machine, maintaining its efficiency and flavor output. Visit the official Saeco website or authorized dealers for genuine parts and accessories. To ensure authenticity and quality, purchase genuine Saeco parts from authorized retailers or the official website. Retailers like Harvey Norman and online marketplaces offer verified products. Avoid unauthorized sellers to prevent compatibility issues. Always check for the Saeco logo and product certification when buying accessories or replacement parts. This ensures your machine performs optimally and maintains its warranty coverage. The Saeco Xelsis Suprema is a high-end super-automatic espresso machine designed for coffee enthusiasts. It features a 1.5-liter water tank and advanced automatic grinding and brewing systems. The Saeco Xelsis Suprema offers advanced features like automatic grinding, temperature control, and customizable brewing options. It includes a 1.5-liter water tank, easy-to-use interface, and energy-saving mode. The machine also features a stainless-steel conical grinder and automatic descaling system, ensuring superior coffee quality and longevity. Its sleek design and user-friendly controls make it ideal for home or office use. For optimal performance, clean the machine daily and descale regularly. Use freshly roasted beans and adjust grind settings for desired flavor. Ensure the brew group is clean and well-maintained. Check water hardness to prevent scaling. Rinse the portafilter and steam wand after use. Regularly update firmware and follow the user manual’s maintenance schedule for longevity. The Saeco GranAroma Deluxe is a premium espresso machine designed for coffee enthusiasts. It features automatic grinding, precise temperature control, and customizable settings for a perfect espresso experience. Refer to the user manual for detailed instructions to optimize its performance and maintain its longevity. The Saeco GranAroma Deluxe offers automatic grinding, customizable brewing options, and a user-friendly interface. Its large 1.5-liter water tank ensures continuous use, while the compact design saves space. Energy-efficient and easy to maintain, this model combines convenience with premium performance, making it ideal for home baristas seeking high-quality espresso and versatility in their coffee experience. For the best experience with the Saeco GranAroma Deluxe, clean the machine daily and descale regularly to maintain performance. Use freshly roasted beans for superior flavor. Adjust grind size and brewing temperature to suit your preference. Refer to the manual for detailed maintenance tips. Experiment with settings to find your perfect shot. Regular upkeep ensures longevity and consistent results. Follow these guidelines to enjoy exceptional espresso every time. Explore the art of crafting specialty beverages like cappuccinos, lattes, and macchiatos using your Saeco machine. Utilize the steam function for milk frothing and customize flavors to your liking. Discover the world of specialty beverages beyond basic espresso. Learn to craft cappuccinos, lattes, and macchiatos using the steam function for milk frothing. Experiment with flavor profiles and textures to elevate your coffee experience. Adjust settings like milk temperature and froth consistency to perfect your creations. Explore advanced techniques for layering and designing visually appealing drinks. Unlock your machine’s full potential to become a home barista extraordinaire. Master the art of specialty beverages by following expert tips. Use fresh, high-quality coffee beans and adjust grind settings for optimal extraction. Experiment with milk frothing techniques to achieve silky textures. Clean the steam wand after each use to prevent milk residue. Explore preset drink options and customize settings for personalized flavors. Don’t forget to descale regularly for consistent taste. Get creative with flavor combinations and enjoy professional-grade results at home! Your Saeco Espresso Machine comes with a comprehensive warranty covering parts and labor for manufacturing defects. For assistance, contact customer support via the official website or phone. Your Saeco Espresso Machine is backed by a comprehensive warranty covering manufacturing defects in materials and workmanship. The standard warranty period is one to two years, depending on the model and usage conditions. Proper usage and regular maintenance are required to maintain warranty validity. Exclusions apply for issues arising from improper use or lack of maintenance. Always read the warranty terms in the user manual carefully. Registration may be required to activate warranty benefits. For assistance with your Saeco Espresso Machine, contact our dedicated customer support team. Visit the official website for contact details, including phone numbers, email, and live chat options. You can also find troubleshooting guides and FAQs online. Ensure to have your machine model and serial number ready for efficient service. Customer support is available to address queries, repair requests, and warranty-related issues promptly.Troubleshooting Common Issues
6.1 Understanding Error Codes
6.2 Resolving Common Operational Problems
Accessories and Compatible Products
7.1 Overview of Available Accessories
7.2 Where to Purchase Genuine Parts
Saeco Xelsis Suprema Model
8.1 Key Features and Benefits
8.2 Tips for Optimal Operation
Saeco GranAroma Deluxe Model
9.1 Key Features and Benefits
9.2 Tips for Optimal Operation
Preparing Specialty Beverages
10.1 Beyond Basic Espresso
10.2 Tips for Creating Specialty Drinks
Warranty and Customer Support
11.1 Warranty Terms and Conditions
11.2 Contacting Customer Support