Mission: Impossible ‒ Fallout is an action-packed thriller that continues the franchise’s high-octane legacy․ Starring Tom Cruise as Ethan Hunt, it delivers intense sequences and complex themes, making it essential for parents to assess its suitability for younger audiences due to its PG-13 rating and mature content․
1․1 Overview of the Movie
Mission: Impossible ‒ Fallout follows Ethan Hunt (Tom Cruise) and his IMF team as they race to prevent a global catastrophe involving stolen plutonium․ The film introduces new characters, like August Walker (Henry Cavill), while bringing back familiar faces such as Ilsa Faust (Rebecca Ferguson)․ Known for its relentless action, complex plot twists, and high stakes, Fallout is often praised as one of the best entries in the franchise, delivering both thrilling sequences and emotional depth․
1․2 Why Parents Should Be Aware of the Content
Parents should be cautious due to the film’s intense action, brief strong language, and mature themes․ It includes a tense torture scene, emotional intensity, and violent sequences, which may be distressing for younger viewers․ The PG-13 rating reflects these elements, making it essential for parents to evaluate whether the content aligns with their child’s sensitivity and maturity level before allowing them to watch․

Age Recommendation for the Movie
Mission: Impossible ‒ Fallout is rated PG-13, recommended for viewers over 10 years old․ Parental guidance is advised due to intense action and mature themes․
2․1 PG-13 Rating Explained
The PG-13 rating for Mission: Impossible ౼ Fallout signifies moderate content, including intense action sequences, brief strong language, and some violence․ Parents should consider these elements when deciding if the film is appropriate for their children․ The rating reflects the movie’s suitability for teens and older audiences, while younger viewers may require parental discretion due to the film’s mature themes and suspenseful scenes․

2․2 Suitable Age Range for Children
Mission: Impossible ౼ Fallout is generally recommended for children aged 10 and older due to its intense action, brief strong language, and mature themes․ Younger children may find certain scenes, such as the torture sequence, distressing․ Parental discretion is advised, as the film’s content aligns more with teens and older audiences who can understand the context and handle the suspenseful nature of the movie․
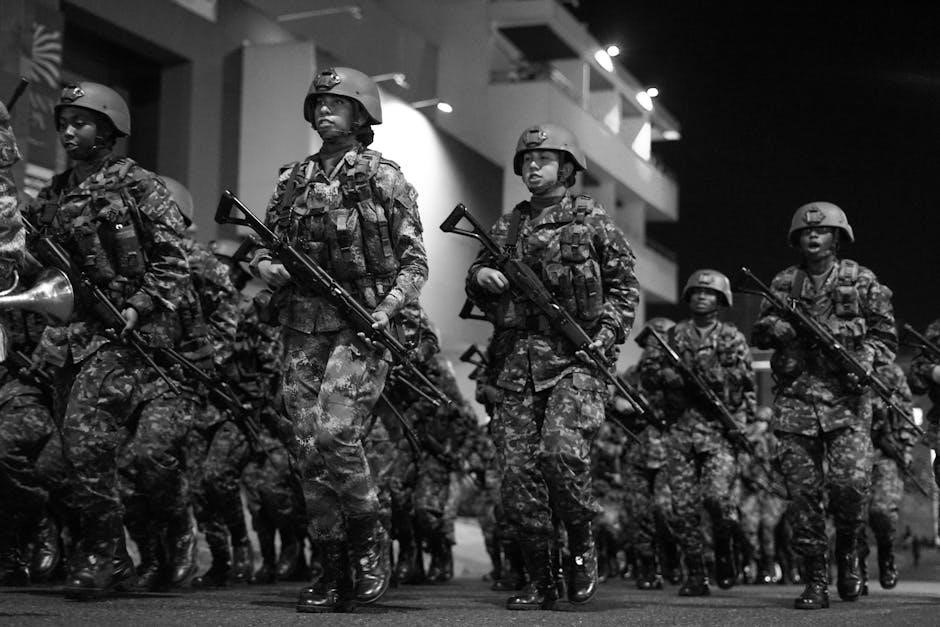
Violence and Action Scenes
Mission: Impossible ౼ Fallout features intense fight choreography and high-stakes action, including explosions and perilous stunts․ These scenes may be overwhelming for younger or sensitive viewers․
3․1 Intense Fight Choreography
Mission: Impossible ౼ Fallout showcases intense hand-to-hand combat and complex fight sequences․ These scenes are visually striking but may be distressing for younger audiences due to their realistic nature․
3․2 Explosions and High-Stakes Action Sequences
The film features explosive sequences and high-stakes action that are thrilling yet intense․ These scenes, including perilous chases and dramatic showdowns, may be overwhelming for younger viewers․ Parents should consider the realistic portrayal of danger and its potential impact on sensitive children․ While older kids may find it exciting, it’s essential to use discretion based on your child’s sensitivity to such content․
Language and Dialogue
The film contains brief strong language and mature thematic elements in conversations, contributing to its PG-13 rating․ Parents should be cautious, especially for younger or sensitive children․
4․1 Brief Strong Language
The film includes brief strong language, contributing to its PG-13 rating․ While not pervasive, such language may concern parents sensitive to profanity․ It remains infrequent but notable enough to warrant awareness, especially for younger viewers․ The sparse use of strong words aligns with the franchise’s tone, balancing action with occasional sharp dialogue․ Parents should consider their child’s sensitivity to such content when deciding suitability․
4․2 Mature Themes in Conversations
Mature themes in Mission: Impossible ౼ Fallout are evident in its dialogue, tackling complex moral dilemmas and high-stakes decisions․ Conversations often revolve around loyalty, betrayal, and the consequences of actions, which may require parental guidance for younger viewers․ While the language isn’t overly explicit, the depth of these themes makes the film more appropriate for older children and teens capable of understanding the nuances and implications of such discussions․

Mature Themes and Sensitive Content
Mission: Impossible ౼ Fallout includes mature themes like torture scenes and emotionally intense moments, which may be distressing for younger audiences, necessitating parental discretion and guidance․
5․1 Torture Scene and Its Impact
The film features a grueling torture scene that may unsettle young viewers․ Although no permanent harm comes to the main character, the intensity and realism of the sequence can be deeply distressing․ Parents should consider their child’s sensitivity before allowing them to watch this scene, as it could evoke strong emotional reactions and lingering concerns about violence and danger․
5․2 Emotional Intensity and Tense Moments
Mission: Impossible ‒ Fallout is packed with emotionally charged moments that heighten the film’s tension․ Ethan Hunt’s moral dilemmas and the high-stakes action create a gripping narrative․ While the movie’s pacing keeps it thrilling, parents should be mindful of how younger viewers might react to the emotional depth and suspenseful scenes, which could be overwhelming for sensitive children․

Positive Messages for Older Kids
The film emphasizes loyalty, teamwork, and ethical decision-making, offering valuable lessons for older children about perseverance and standing up for what’s right, despite challenges․
6․1 Themes of Loyalty and Teamwork
Mission: Impossible ‒ Fallout highlights Ethan Hunt’s unwavering loyalty to his team, showcasing selflessness and trust․ The IMF team’s collaborative efforts demonstrate how unity and reliance on each other’s strengths lead to overcoming daunting challenges․ These themes inspire older kids to value teamwork and understand the importance of standing by others, even in difficult situations, fostering a sense of responsibility and camaraderie․
6․2 Moral Dilemmas and Heroic Choices
Mission: Impossible ‒ Fallout presents Ethan Hunt with tough ethical decisions, testing his principles․ The film explores sacrifice and the consequences of choices, offering a chance to discuss right vs․ wrong with kids․ These moments highlight heroism and the weight of responsibility, providing valuable lessons for older children about integrity and the impact of their actions․
Comparison with Other Mission: Impossible Films
Fallout stands out for its heightened intensity and deeper emotional stakes, making it the most thrilling entry yet․ Its complex themes and action surpass earlier films, offering a richer experience for mature audiences while maintaining the franchise’s signature style․
7․1 Increased Intensity in Fallout
Mission: Impossible ౼ Fallout elevates the franchise’s intensity with more complex action sequences and higher stakes․ Tom Cruise’s performance, including daring stunts, surpasses previous films, making it the most thrilling entry for mature audiences while maintaining the series’ signature style․
7․2 How It Stands Out in the Franchise
Mission: Impossible ౼ Fallout distinguishes itself with a gripping narrative, relentless pacing, and emotional depth, earning critical acclaim as one of the best in the series․ Its complex storyline and character development set it apart, while maintaining the franchise’s signature action and suspense, making it a standout film for both fans and newcomers alike․
Parental Guidance and Viewing Tips
Parents should watch with children to discuss the film’s themes and ensure they can handle the intense action and brief strong language, guiding their understanding of complex scenes․
8․1 Watching with Children: A Parent’s Guide
Parents should consider their child’s sensitivity before watching Mission: Impossible ౼ Fallout․ The film’s intense action, brief strong language, and mature themes may not suit younger or sensitive children․ It’s recommended for kids aged 10 and above․ Watching together allows parents to explain complex scenes and discuss the movie’s moral dilemmas, helping children understand the context and implications of the storyline․
8․2 Discussing the Movie with Your Kids
Talking to your children about Mission: Impossible ‒ Fallout can help them process its intense scenes and themes․ Discuss the consequences of violence, the importance of teamwork, and the moral choices characters face․ Encourage them to share their thoughts on the action sequences and whether they think the characters made the right decisions․ This can foster critical thinking and a deeper understanding of the film’s message․

Mission: Impossible ౼ Fallout is an exhilarating yet intense film․ Parents must weigh its thrilling action against mature themes and violence when deciding suitability for their children․
9․1 Is Mission: Impossible ౼ Fallout Appropriate for Your Family?
Mission: Impossible ‒ Fallout is rated PG-13 for intense action and brief strong language․ While it offers thrilling entertainment, parents should consider their child’s sensitivity to violence, including a torture scene and high-stakes action․ Suitable for older children (10+), it may be too intense for younger viewers․ Parental discretion is advised to ensure it aligns with your family’s values and comfort level․

9․2 Final Recommendations for Parents
Parents should carefully consider their child’s maturity level before allowing them to watch Mission: Impossible ౼ Fallout․ While the film is engaging, its intense action, brief strong language, and mature themes make it more suitable for older children․ Watching with your child is recommended to provide context and address any concerns․ Open discussions afterward can help them process the content and understand its complexities․