
Guide to Camera Shots
A comprehensive guide to camera shots explores essential techniques for visual storytelling. Discover shot sizes, angles, movements, and framing to enhance your filmmaking. Learn how to use lighting, composition, and movement to create impactful scenes. Perfect for filmmakers and photographers seeking to elevate their craft.
Types of Camera Shots by Size
Camera shots are categorized by size to determine the framing of the subject. The most common types include:
Extreme Long Shot (ELS): Captures the subject from a great distance, often showing the environment. Ideal for establishing scenes and providing context.
Long Shot (LS): Frames the full body of the subject, allowing movement and interaction with the surroundings. Useful for depicting action and spatial relationships.
Medium Shot (MS): Focuses on the subject from the waist up, balancing detail and environment. It’s versatile and commonly used for dialogue scenes.

Close-Up (CU): Focuses tightly on the subject’s face or object, emphasizing emotions or details. Enhances storytelling by drawing attention to key elements.
Extreme Close-Up (ECU): Frames a specific detail, like eyes or lips, to create tension or highlight subtle expressions. Often used for dramatic effect.
Each shot size serves a unique purpose, guiding the audience’s focus and enhancing visual storytelling. Understanding these sizes helps filmmakers communicate effectively through their scenes. Mastering these techniques ensures a professional and engaging visual narrative. By selecting the right shot size, directors can control the viewer’s emotional response and maintain dynamic pacing in their work.
Understanding Camera Angles
Camera angles are a crucial element in filmmaking, influencing how the audience interprets a scene. Each angle conveys different emotions and emphasizes specific aspects of the subject. Common angles include:
- Eye-Level Angle: The camera is at the subject’s eye height, creating a neutral, realistic perspective. Often used for dialogue scenes to maintain a natural feel.
- Low Angle: The camera looks up at the subject, making them appear powerful or heroic. This angle can instill a sense of grandeur or dominance.
- High Angle: The camera looks down at the subject, often used to convey vulnerability or weakness. It can also provide a broader view of the scene.
- Dutch Angle: The camera is tilted to one side, creating a distorted perspective. This angle adds tension or unease, often used in dramatic or unsettling moments.
- Point of View (POV): The camera shows what a character is seeing, immersing the audience in their perspective and enhancing emotional engagement.
By strategically choosing camera angles, filmmakers guide the audience’s emotional response and narrative understanding. Each angle offers a unique way to tell the story, making it a powerful tool in visual storytelling. Mastering these techniques allows directors to convey complex emotions and themes effectively, ensuring a captivating cinematic experience. Understanding camera angles is essential for creating dynamic and meaningful scenes that resonate with viewers.
Camera Movements and Techniques
Camera movements and techniques add depth and dynamism to a scene, guiding the viewer’s attention and enhancing storytelling. Common techniques include:
- Pan: The camera moves horizontally from left to right or right to left, often used to follow action or reveal a wider scene.
- Tilt: The camera moves vertically, tilting up or down, commonly used to emphasize height or create a dramatic reveal.
- Dolly: The camera moves toward or away from the subject, altering the depth of field and emotional intensity.
- Tracking Shot: The camera follows the subject as it moves, creating a sense of fluidity and engagement.
- Crane Shot: The camera moves vertically, often from a low to high angle, providing a grand or expansive view of the scene.
Smooth movements, such as dollying or tracking, can create a seamless flow, while jerky or abrupt movements may convey tension or chaos. These techniques, when combined with careful framing and lighting, elevate the visual narrative and immerse the audience in the story. Mastering camera movements is essential for creating dynamic and engaging cinematic experiences. By thoughtfully selecting and executing these techniques, filmmakers can enhance emotional impact and guide the viewer’s focus effectively. Camera movements are a powerful tool in the filmmaker’s arsenal, capable of transforming a static scene into a vivid, memorable moment.
Framing and Composition

Framing and composition are fundamental to capturing visually compelling camera shots. The way a scene is framed directs the viewer’s attention, emphasizing key elements while minimizing distractions. Techniques like the rule of thirds, leading lines, and symmetry help create balanced and dynamic compositions. The rule of thirds involves dividing the frame into nine equal parts, placing important subjects along the lines or at their intersections to avoid centering them, which can make the image less engaging. Leading lines guide the viewer’s eye to the subject, using elements like roads, shorelines, or patterns to create depth and perspective. Symmetry enhances order and stability, often used in architectural or reflective shots to create a sense of calm. Negative space can also be effective, drawing focus to the subject by surrounding it with emptiness. Proper framing ensures that the subject is appropriately cropped, avoiding awkward cutoffs that disrupt the image. Lighting plays a crucial role in composition, highlighting textures and forms while separating the subject from the background. By mastering these principles, filmmakers and photographers can craft shots that engage, inform, and inspire, making their visual storytelling more impactful and memorable. Effective framing and composition are essential skills for creating professional-quality imagery.
Lighting in Camera Shots
Lighting is a fundamental element in camera shots, as it enhances the mood, highlights textures, and creates depth in a scene. Proper lighting can elevate the visual appeal of an image and guide the viewer’s focus. Natural light, such as sunlight, offers soft, diffused illumination, while artificial light provides more control over intensity and direction. Backlighting creates dramatic silhouettes, separating the subject from the background, while low-key lighting emphasizes shadows, adding drama and tension. High-key lighting minimizes shadows, producing a clean, even look. Lighting techniques like three-point lighting (key, fill, and backlight) are widely used to create balanced, professional results. Understanding lighting principles allows filmmakers and photographers to manipulate the atmosphere of a scene, making it more engaging and emotionally impactful. Effective lighting enhances the storytelling potential of any shot, ensuring the subject is well-defined and the overall composition is visually compelling.
By mastering lighting techniques, creators can achieve the desired aesthetic and emotional resonance in their work, making lighting an indispensable tool in the art of camera shots.
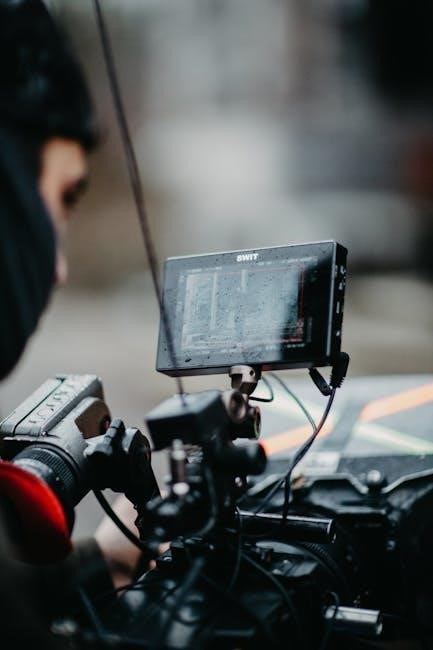
Creating a Shot List
A shot list is a detailed plan outlining each camera shot needed for a scene or project. It ensures every visual element is captured efficiently, saving time during production. The list typically includes shot type, camera angles, movements, lighting setups, and subject framing. Filmmakers use it to visualize the sequence of shots, ensuring continuity and coherence in storytelling. Each entry should specify the shot size (e.g., wide, medium, close-up), camera position, and any movement (e.g., pan, tilt, dolly). Lighting requirements and actor positioning are also noted to maintain consistency. Storyboarding often accompanies the shot list, providing a visual reference for the team. By organizing shots in advance, directors can communicate their vision clearly to the crew. A well-structured shot list is essential for smooth filming, helping to stay on schedule and budget. It also allows for creative experimentation, ensuring the final product aligns with the director’s artistic goals. Whether for a film, commercial, or video project, a shot list is a cornerstone of effective visual planning and execution.
With a shot list, filmmakers can systematically capture all necessary footage, ensuring no details are overlooked and the final edit meets their creative vision.
Case Studies: Analyzing Famous Camera Shots
Examining iconic camera shots from celebrated films offers insights into masterful storytelling techniques. For instance, the opening scene of The Godfather uses a slow zoom to emphasize Don Vito’s imposing presence, creating tension and setting the film’s tone. In Jaws, Steven Spielberg employed a low-angle shot to build suspense as the shark approaches, making the audience feel vulnerable. Christopher Nolan’s Inception features a spinning hotel corridor scene, achieved with a combination of practical effects and precise camera movements, to depict a dream-within-a-dream reality. These case studies reveal how directors leverage shot composition, angles, and movements to evoke emotions and convey themes. By dissecting these examples, filmmakers can learn to apply similar techniques to enhance their own projects. Analyzing these shots also highlights the importance of collaboration between directors and cinematographers in achieving visual excellence. These iconic scenes serve as a testament to the power of camera work in shaping cinematic experiences. Studying them provides a roadmap for creating compelling and memorable visuals in any film or video project.
These case studies demonstrate how innovative camera techniques can elevate storytelling, leaving a lasting impact on audiences and inspiring future filmmakers.
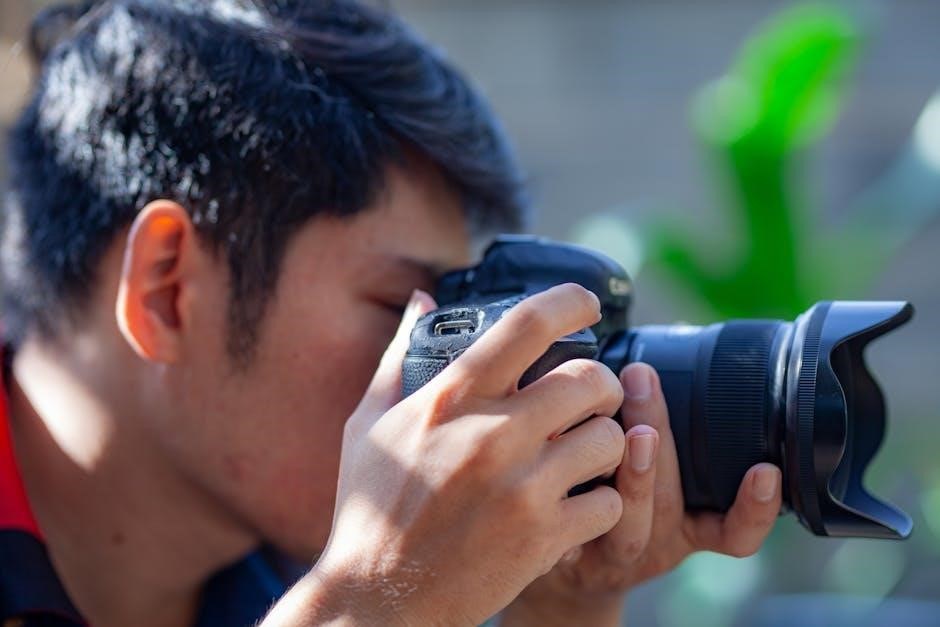
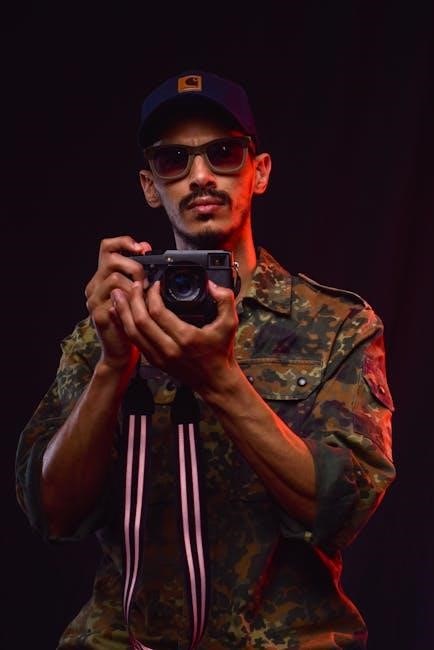
Best Practices for Capturing Camera Shots
Mastering camera shots requires a blend of technical skill and artistic vision. Start by planning meticulously with storyboards and shot lists to visualize your scenes. Use manual camera settings to control exposure, ensuring optimal lighting and focus. Natural light is often ideal, but learn to enhance it with artificial lighting when needed. Framing is critical—pay attention to composition, using techniques like the rule of thirds or leading lines to guide the viewer’s eye; Keep your camera stable with tripods or gimbals to avoid shaky footage, and experiment with movements like pans, tilts, or tracking shots to add dynamism. Collaborate closely with your team to align on the visual style and ensure consistency. Finally, review your shots on set and make adjustments as needed to achieve the desired impact. By following these best practices, you can elevate your filmmaking and photography, capturing shots that tell compelling stories and engage your audience effectively.